Welcome, fellow Unity 3D developers! Today, we delve into the captivating world of isometric tilemaps – a cornerstone of many engaging 2.5D games. Let’s embark on this journey together, uncovering tips, tricks, and best practices to elevate your game development skills.
Why Isometric Tilemaps Matter?
Isometric tilemaps offer an appealing visual aesthetic that bridges the gap between 2D and 3D games. They provide a unique perspective, allowing for more complex environments with less computational overhead compared to full 3D models. This makes them ideal for strategy games, RPGs, and puzzle games where intricate landscapes are essential.
Getting Started: The Basics
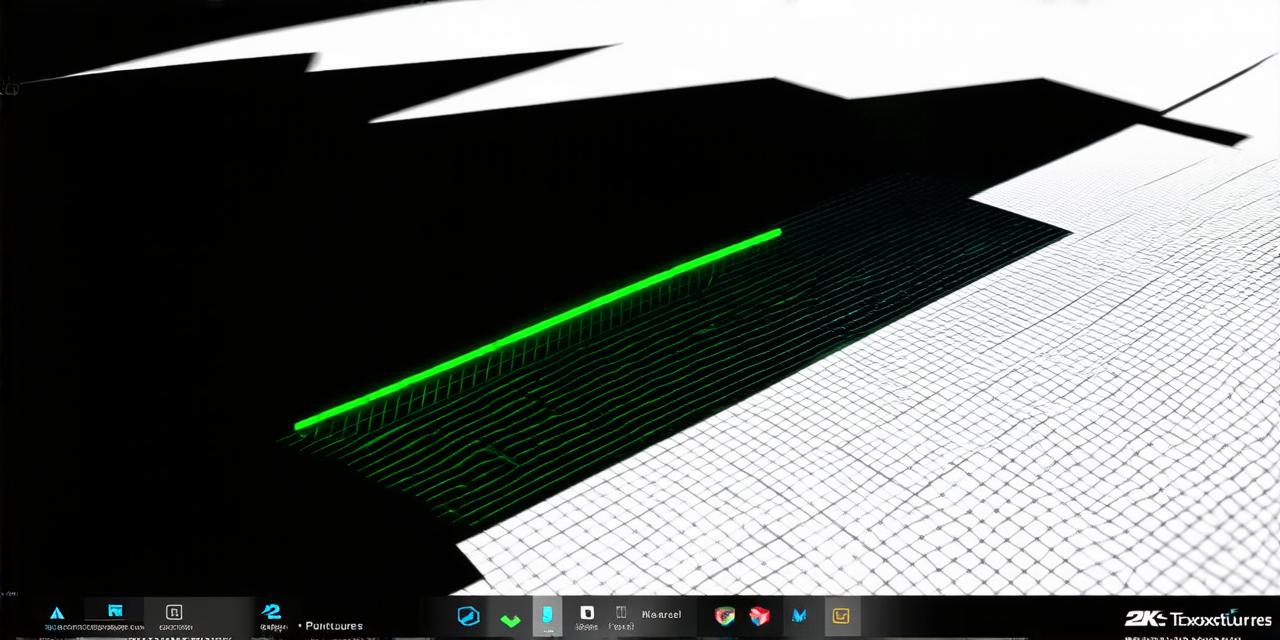
To create an isometric tilemap in Unity 3D, you’ll first need the Tilemap tool. This can be found under the GameObject menu > 2D > Tilemap. Choose between Grid and Sprite (Tilemap) based on your needs. The Grid tilemap uses squares, while the Sprite (Tilemap) allows for more flexibility with custom shapes.
Creating Your First Isometric Tileset
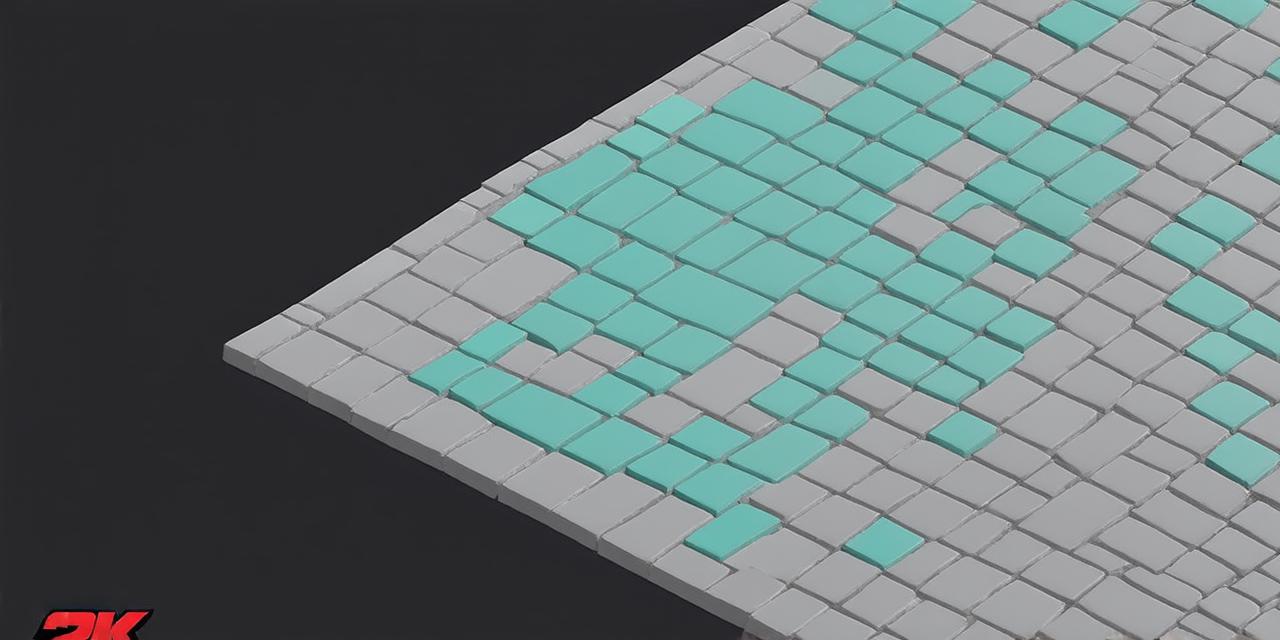
A tileset is a collection of sprites that share a common size, used to create patterns across the tilemap. To create an isometric tileset, you’ll need to adjust the sprite’s pivot point and scale it appropriately. For an isometric tileset, the pivot should be at the center of the bottom edge of the sprite, and the scale should be adjusted so that one unit in your scene corresponds to the size of a tile in your tileset.
Tips for Optimizing Your Isometric Tilemaps
1. Batching: Group similar tiles together to reduce the number of draw calls, improving performance. This can be done manually or automatically using Unity’s Batch Atlas system.
2. Lod (Level of Detail): Implement LOD groups to optimize rendering based on distance from the camera. This reduces the complexity of objects as they move further away, conserving resources and maintaining smooth performance.
3. Tilemap Collider 2D: Use this tool for physics interactions and collision detection. It allows you to easily create colliders that follow the shape of your tilemap, making it ideal for complex environments.
Case Study: A Successful Isometric Game
Consider “Terraforming Mars,” a popular strategy game that employs isometric tilemaps effectively. Its success underscores the potential of this technique in creating immersive, engaging gaming experiences. The game’s procedurally generated landscapes and dynamic gameplay mechanics showcase the versatility and power of isometric tilemaps in Unity 3D.
FAQs
1. What tools are needed to create an isometric tilemap in Unity 3D?
Tilemap tool (found under GameObject > 2D > Tilemap) and a tileset of appropriately scaled and pivoted sprites.
2. How can I optimize my isometric tilemaps for better performance?
Batch similar tiles, implement LOD groups, and use the Tilemap Collider 2D for efficient collision detection. Additionally, consider using texture atlases to reduce the number of textures loaded into memory.
In conclusion, mastering isometric tilemaps in Unity 3D opens up a world of possibilities for your game development projects. Embrace this powerful tool, optimize your workflow, and watch your creations come to life! Stay tuned for more insights on Unity 3D development.