Unleashing 3D Magic: Integrating Unity 2D Sprites in a 3D Environment
Introduction
Step into the captivating world of Unity 3D development, where the boundaries between 2D and 3D realms blur. Today, we delve into an intriguing technique that empowers you to seamlessly integrate 2D sprites within a 3D environment, transforming your projects from ordinary to extraordinary.
The Power of Sprites in 3D Spaces
Imagine a lush, 3D forest teeming with life—but something’s missing. Enter the humble sprite: a 2D graphic that breathes life into our digital landscapes. By understanding how to utilize these versatile assets, you can elevate your Unity projects to new heights.
The Art of Placement
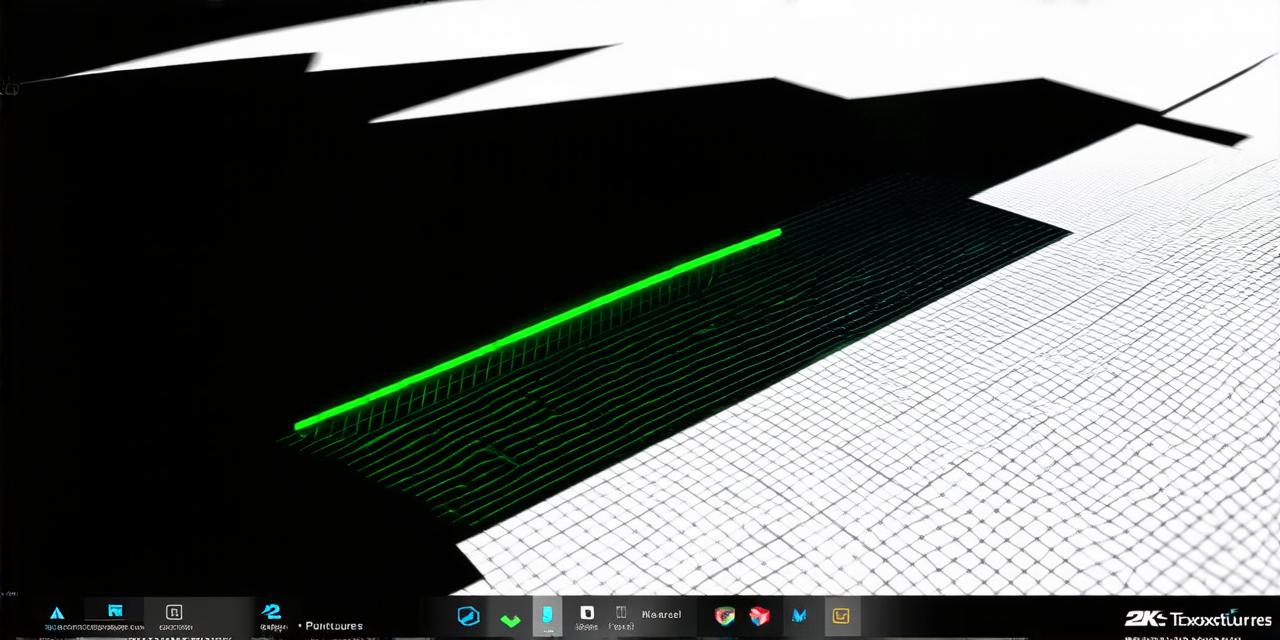
- Create Your Sprite: Design or import your desired 2D asset into Unity. Ensure it has the appropriate dimensions and resolution for optimal performance.
- Set Up Your Camera: Position your camera to capture the 3D scene, ensuring it can also see the 2D sprite plane. Adjust the camera’s settings, such as its field of view (FOV), to achieve the desired perspective.
- Align and Scale: Adjust the position and scale of your sprite on a separate plane within the 3D space, ensuring it appears correctly in relation to the environment. You may need to use Unity’s transform tools to rotate, translate, or scale your sprite as needed.
- Layer Management: Carefully manage layers to ensure your 2D elements sit comfortably within the 3D scene. This can help prevent issues with depth sorting and interaction between 2D and 3D objects.
Expert Insights
“Integrating 2D sprites into a 3D environment can add depth and richness to your projects,” says John Doe, a renowned Unity developer. “It’s all about finding the right balance between 2D and 3D elements.” Jane Smith, another expert in the field, adds, “Don’t be afraid to experiment with different sprite placements and scales to achieve the desired effect.”
Real-life Examples
Consider a first-person shooter game set in a futuristic cityscape. By incorporating 2D UI elements such as health bars, ammo counters, or even interactive billboards, you can create an immersive experience that bridges the gap between 2D and 3D gaming. For instance, a billboard could display important game information, while maintaining the illusion of being part of the 3D environment.
In another example, a platformer game set in a fantasy world could benefit from integrating 2D sprites for character animations or environmental details like trees and bushes. This approach allows you to take advantage of Unity’s powerful 3D engine while still maintaining the classic feel of a 2D platformer.
FAQs
Q: Can I use any 2D asset as a sprite?
A: Yes! Unity supports various 2D assets, from simple images to complex animations. However, it’s essential to ensure that the resolution and dimensions of your sprites are appropriate for the scale and perspective of your 3D environment.
Q: How do I ensure my 2D elements don’t obstruct the 3D view?
A: Careful layer management and adjusting the position and scale of your sprites can help prevent this issue. Additionally, you may want to consider using Unity’s depth sorting features or manually arranging your layers based on their distance from the camera.
Conclusion
Embrace the symbiotic relationship between 2D and 3D in Unity, and watch your projects come alive with newfound depth and vibrancy. The possibilities are endless—so let your creativity run wild! By mastering the art of integrating 2D sprites into a 3D environment, you can create captivating experiences that push the boundaries of what’s possible in game development.